Large scale 3D printed sculpture with RoboSculptor

The continual testing of the RoboSculptor has finally yielded its first large scale print. There were several failed attempts during the initial trials after glitches were encountered in several parts of the system. Apparently key components that I previously held infallible were not appropriate for larger print runs, but the problems were rectified and now the system is ready for some serious work.

The first large scale print almost maxes out at 18 inches high. The width and length floated somewhere within the 13.5 x 15 inch XY plane.

Slicing the model has been problematic with most of the open-source slicers. The model has 588,544 polygons and the STL file is 28MB in size! I had problems with memory allocation with Skeinforge and Slic3r was unstable. Cura seems stable and it completed without apparent errors, though it was slow and unresponsive at times. The best solution was to use  the commercial slicer Simplify3D.

Repetier-Host and Printrun have been my favorite hosts, but both are heavily burdened with such large files. Printrun develops memory buffer errors and is unstable. The best solution was to use Simplify3D as the host as well..

3d printed sculpture robosculptor 01

Of course with the support material that is generated, the print becomes even larger and this in turn uses more filament. 3 rolls of 1kg semi-transparent orange PLA was required.

3d printed sculpture robosculptor 02

3d printed sculpture robosculptor 04

This is the longest print run to date. The entire print time for this sculpture was 3 days and 14 hours!


3d printed sculpture robosculptor 03

Once the print was finished, the support was pulled away from the sculpture. Most of it released easily, though the use of pliers were of great help.

3d printed sculpture robosculptor 05

3d printed sculpture robosculptor 06

The finished piece can now be lightly sanded and painted.

3d printed sculpture robosculptor 07

The sculpture was printed with a 0.4mm layer resolution. This would normally be  considered a low resolution surface for a smaller print in the 50 to 80mm range, but is actually fairly uniform and unobtrusive for an object in this size range.

3d printed sculpture robosculptor 08

An interesting feature about the the semi-transparent filaments is the effect that is achieved when light is shown through the object.

3d printed sculpture robosculptor 09

The internal structure of the infill in combination with the layer texture creates a beautiful surface that has to be seen in person to grasp the three-dimensional effect.
3d printed sculpture robosculptor 10

RoboSculptor makes its first print!

Today I finally found the time to get the RoboSculptor up and running. I made a couple basic print runs utilizing the typical 20mm x 20mm x20mm calibration cube.

robosculptor-4-768x1024

The first print run was sliced with Skeinforge. The print was successful, though some tweaking of the slicer profile is necessary. There are some thin layers due to inadequate filament feed.

robosculptor-5

The second print run was sliced with Slic3r. The filament feed seems adequate, though the nozzle was calibrated too far from the print bed and the first layers of the cube are distorted.

robosculptor-9

Also I may have a problem with my Z axis. There may be too much wobble due to my design of the Z axis. Though, there may be other issues at hand, this will have to be investigated in the future. Overall, a great start!

RoboSculptor

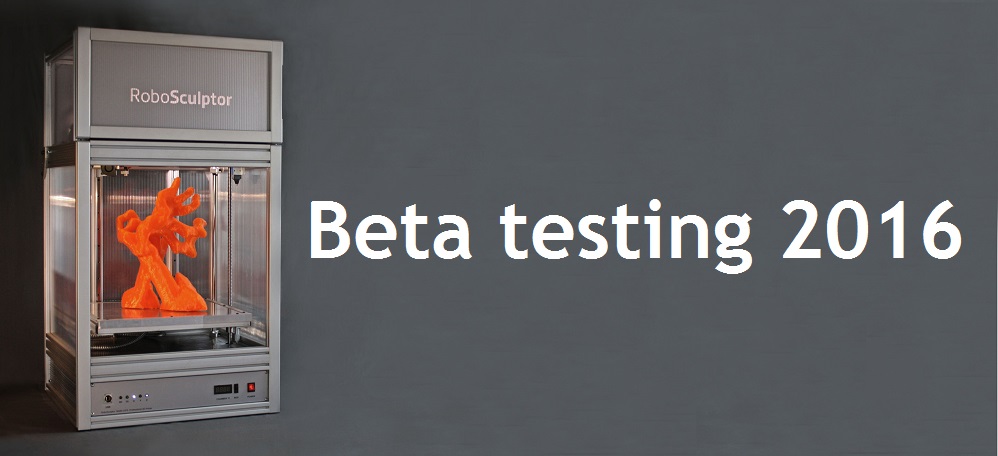
During the past seven months or so, I’ve been designing and building a new 3D printer that I’m calling the RoboSculptor. It boasts a large build volume of 340mm x 380mm x 470mm (13.5″ x 15″ x 18.5″). This is slightly bigger than the Makerbot Z18 which has a 300mm x 300mm x 457mm (11.75″ x 11.75″ x 18″) build volume.

robosculptor-front

The RoboSculptor’s mechanical and electronic systems have been finished. The  enclosure components have yet to be installed.

robosculptor-side-view


robosculptor-floor-pattern

There is easy access to the electronics by lifting the floor panel. Inside contains the power supplies, stepper drivers and controller.

robosculptor-floor-panel-1024x374


robosculptor-electronics

The RoboSculptor works by moving a build platform along the Z axis. An XY gantry above remains stationary.

robosculptor-top-assembly

The print head is moved along the Y axis on a linear rail which is than carried along the X axis by way of round rod and bushings. This allows for full movement at any point on the build platform.

robosculptor-print-head-assembly

Further testing and all print runs will be recorded by blog entry at www.robosculptor.com.